Security is a means of protecting an area of work by limiting the level of access by other users. Thus delicate or sensitive information can be protected.
• Security works at the Project level but can be extended to the Application level or globally.
• Users are assigned the ability to: do nothing; view only; execute; or do everything.
• Security is optional and can be switched on & off and modified by the System Security Controller(s).
• Users can be managed at the individual or group level.
Work with Security
Security can be maintained from the following menu which is accessed with option ‘52’ from the TestBench Main Menu or option ‘12’ from the Extractor Main Menu. All users can access this screen when security is not active. However, once security has been activated only Security Controllers can access the Work with Security menu. Use option ‘53’ from the TestBench Main Menu or option ‘13’ from the Extractor Main Menu to view all users with security access if you require any security changes to be made.
The current security status is displayed at the top of the Work with Security screen. Security will not be active by default, see the following section for information on how to activate security.
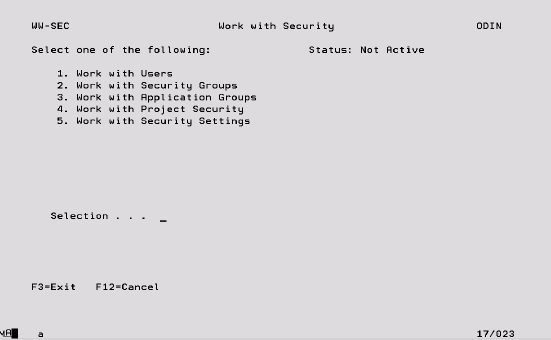
Options:
1 – Work with Users Maintain individual User authority to all functions including Projects and Applications. See later section for more information.
2 – Work with Security Groups Create a group name such as DEVELOPER or TESTER for which authority levels can be defined here. When a User is added using the above option, a group can then be selected which enables a standard set of authority to be applied to Users who perform a similar function within the product. See later section for more information.
3 – Work with Application Groups Multiple Projects can be added to a single Application and authority can then be defined for the Application as a whole rather than for every individual Project. See later section for more information.
4 – Work with Project Security Depending on the option taken when security is activated, a Project will either be secured, in which case it is controlled by the security settings, or unsecured in which case every User has full access to it. Use this option to change whether a Project is secured or unsecured. See later section for more information.
5 – Work with Security Settings Use this option to switch security on or off. See the following section for more information.
Switching on Security
When you are ready to switch security on for the first time, you must first define a Security Controller (User with security authority) using option ‘1’ on the previous Work with Security display. If you take option ‘5’ without having done this, the following screen will be displayed.

1. Take option ‘1’ from the Work with Security display.
2. Press F6 to add a User.
3. On the following display, key in the User Profile to which security authority will be granted and press Enter.
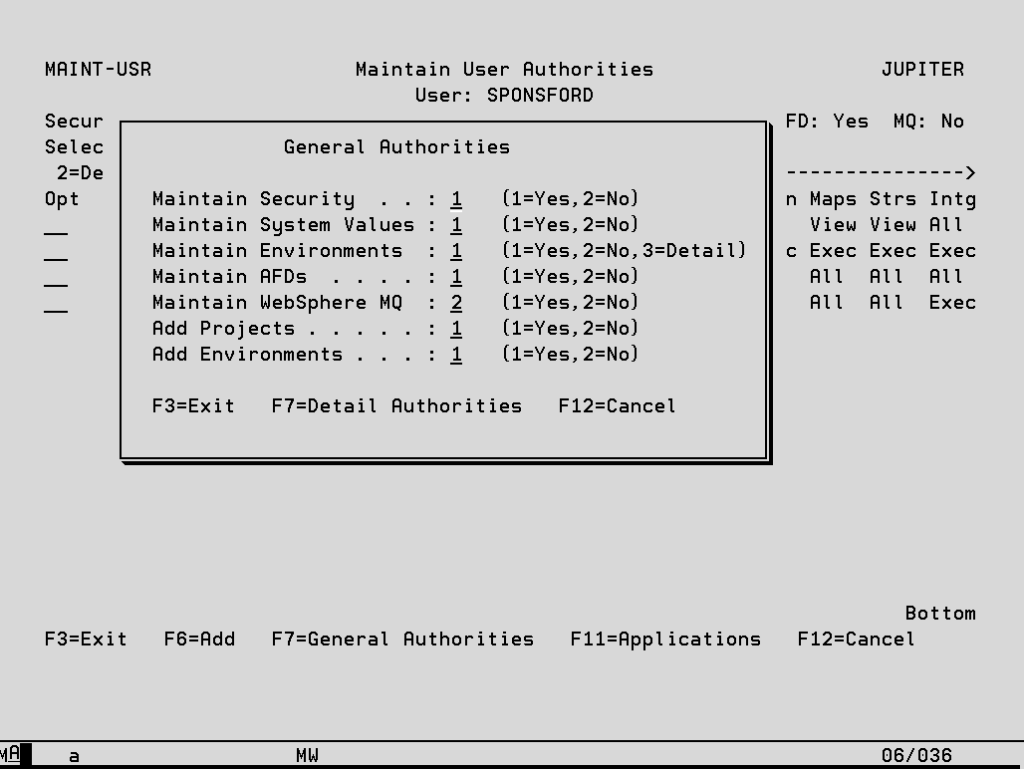
4. Press F7 on the Maintain User Authorities display to access the general security authorities.
5. Set all of the values on this screen as required and press Enter. These authorities are explained fully in the later General Authorities section.
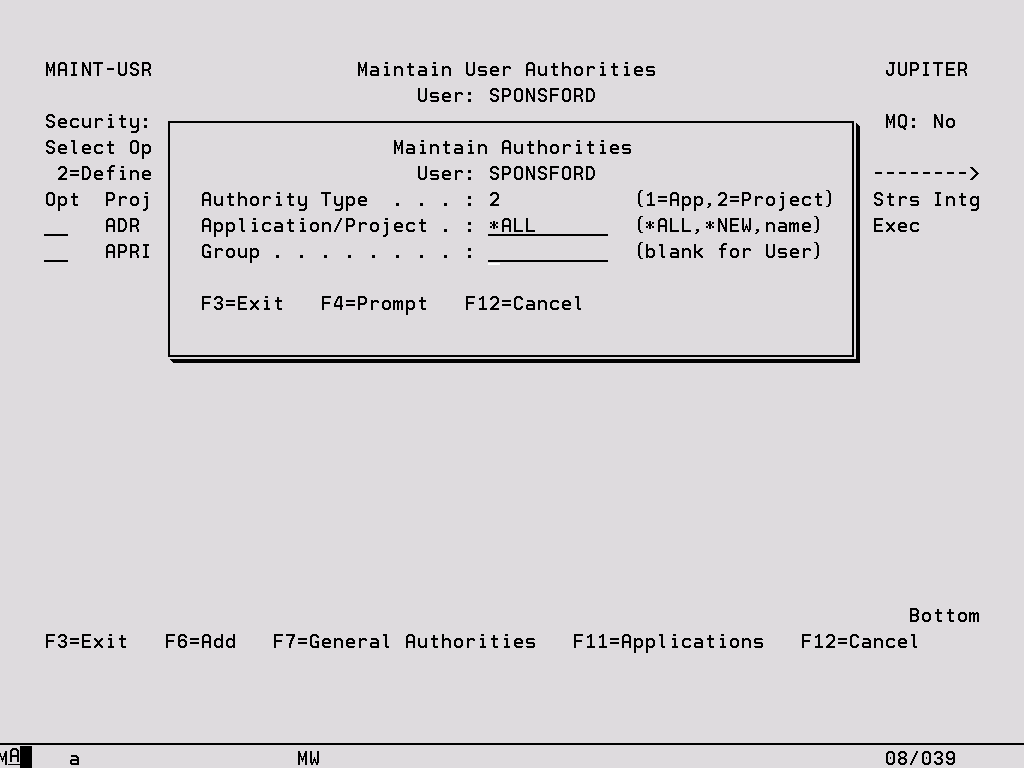
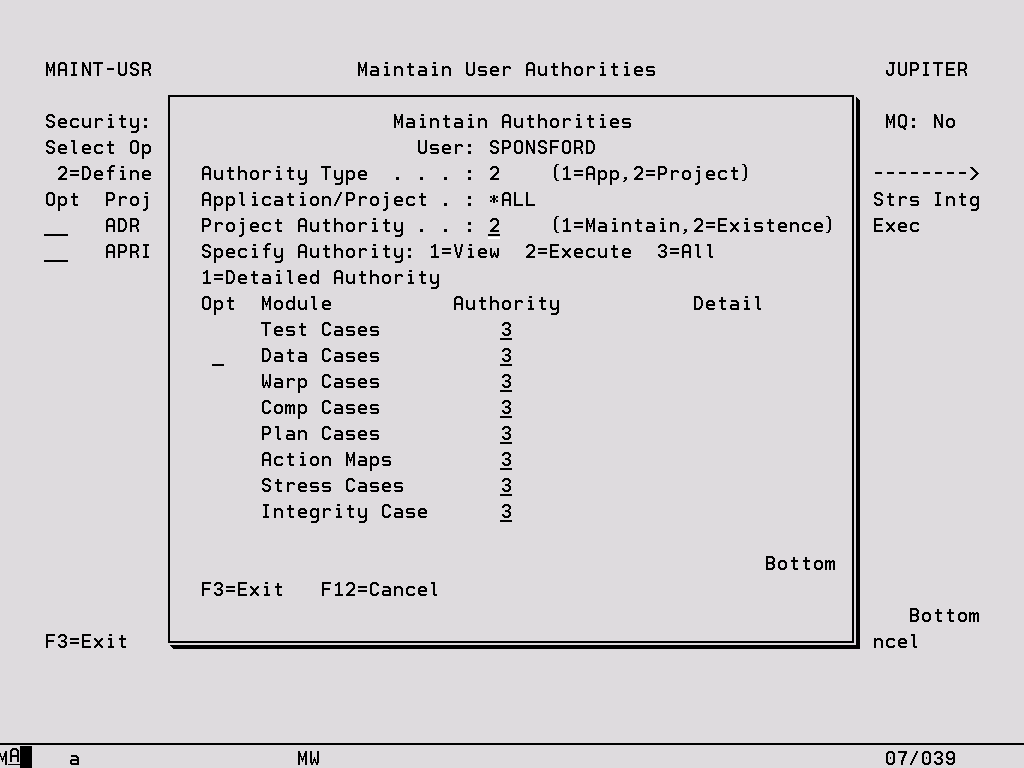
6. Press F6 to add specific Project authority. If you wish the Security Controller to have full access to the product, fill in the following two screens as shown below (press Enter on the first screen to get to the second). These screens are explained fully in the later User Authorities section.
7. Press F12 twice to return to the Work with Security menu.
8. Take option ‘5’ and then key in either option ‘2’ or ‘3’ depending on your requirements to activate security.
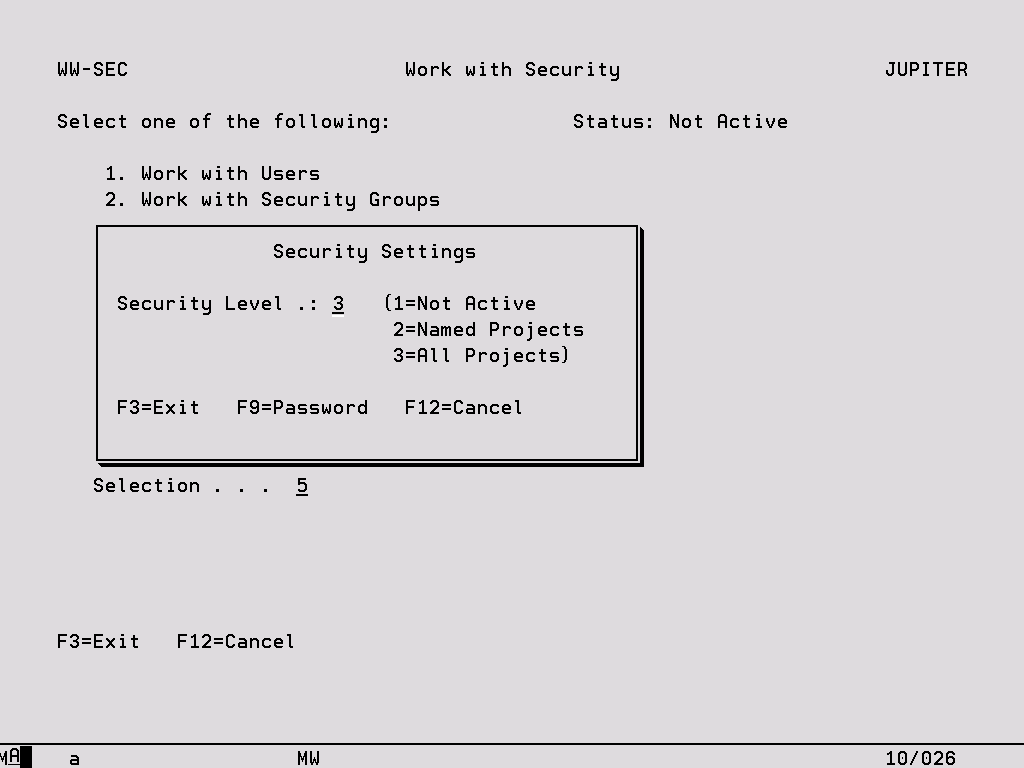
Options:
1 – Not Active Switch off Security. This is the default value when a security capable version of TestBench or Extractor (version 3 or later) is first installed.
2 – Named Projects Security will be activated, but the default value for all Projects will be unsecured. Every new Project that is added will also have a status of unsecured. To define a Project as being secured and therefore subject to the authority rules that have been defined, use option ‘4’ from the Work with Security menu. See the following section for more information.
3 – All Projects Security will be activated and the default value for all Projects will be secured. This means that every Project will be subject to the authority rules that have been defined. Every new Project that is added will also have a status of secured. Use option ‘4’ from the Work with Security menu to change a Project to unsecured, in which case no authority rules will be applied. See the following section for more information.
F9 – Password If no password is defined here, only Security Controllers can access the security functions contained within option ‘52’ on the TestBench Main Menu or option ‘12’ on the Extractor Main Menu. If a password is defined, any User who attempts to take this option will be prompted to key in the password. If it is keyed correctly, they will be allowed full access to the Security screens. This means that if there is no Security Controller available and a change is required, it is possible for a Security Controller to provide the password to a User who can then make the necessary changes. This password can be changed again at any time using F9.