You will reach this Work With Action Maps display either from the TestBench Main Menu or from Work With Projects. In the former case you will be prompted to select the Project in which the Action Map resides.
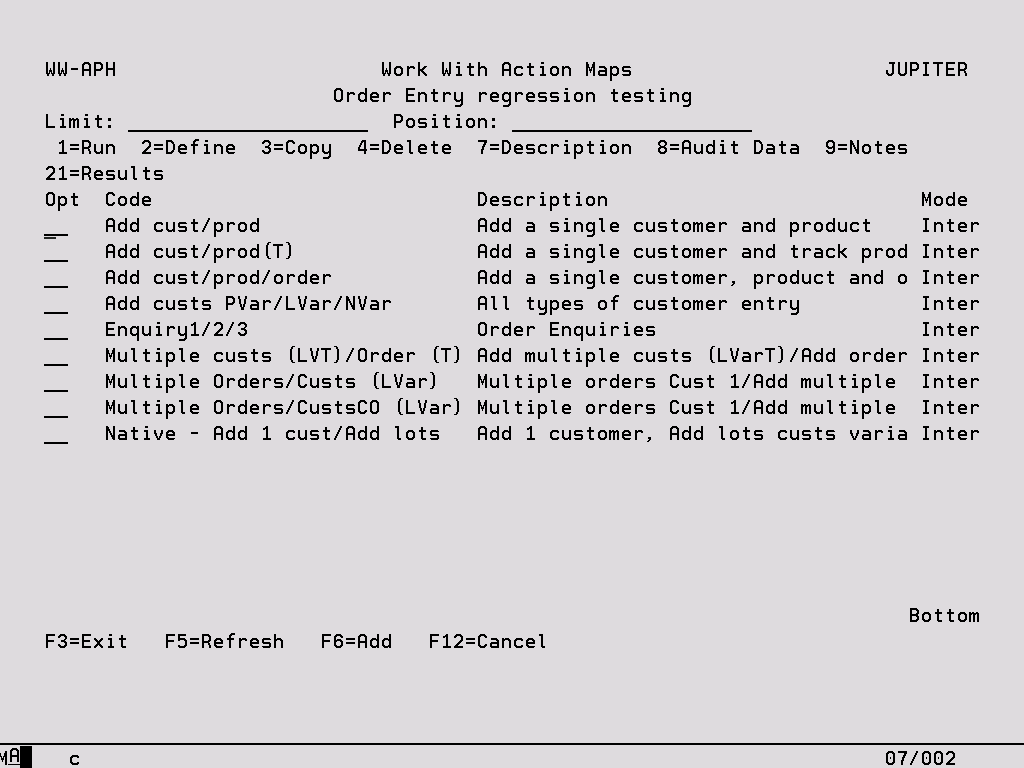
Limit Key a character or characters to subset the display to records that have the same initial key values. Leave blank to have all records available via scrolling (page up/down). When entering a ‘Limit’ value, this will always be used for the ‘Position’ value in the first instance. Once the ‘Limit’ range has been established on the screen a ‘Position’ may also be specified. The last value keyed is stored for each user and will automatically be defaulted into this field when this panel is next accessed.
Position This is a volatile field that will position records on the display starting with the characters keyed. Hence, this enables you to move quickly to the end of a long list and from there scroll up or down as required. If entered at the same time as the ‘Limit’ field, ‘Position’ will be ignored the next time the Enter key is pressed. Once the ‘Limit’ has been established, ‘Position’ can also be keyed. If the ‘Position’ is outside the range of available records, the display will either start or end with the closest records.
Options:
1 – Run Execute the Action Map. This will run all of the Action Map Entries one after the other. If the Action Map is running in batch, the Job Name and Job Description on the Action Map Description will be used if keyed, otherwise the default Job Name and Description will be used. If the option on the Action Map Description has been set, the Action Map will stop if any of the commands within it fail.
2 – Define This option will take you to the Action Map Entries display where the individual Cases or commands to be run as part of the Action Map are maintained (see specific section below).
3 – Copy Copy the selected Action Map and all its contents to another Action Map and optionally another Project. If the Action Map you are copying to already exists you have the option to merge the two together.
4 – Delete This option will delete all information associated with an Action Map. A warning is displayed before the delete process begins.
7 – Description This option will take you to Action Map Maintenance where the Mode, Error Action, Integration options, Job Name and Job Description can be changed (see specific section below).
8 – Audit Data Show details of all amendments that have been made to the Action Map.
9 – Notes Record or view notes for the Action Map as a means of documentation.
21 – Results View details of all Action Map Runs (see specific section below).
Function Keys:
F6 – Add Allows you to add a new Action Map via the Action Map Maintenance display (see specific section below).