When TestDrive-UAT is opened by default it occupies the right hand side of the screen and all other active applications are automatically re-sized to fill the remainder of the screen size (if they are running in full screen mode). The width of TestDrive-UAT can be changed by clicking and dragging the left hand border. However, it can be minimised if more screen real estate is required by the application under test.
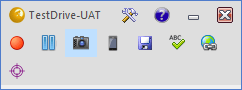
As you navigate through the application under test, every input event is recorded, although please be aware that each event is only added to TestDrive-UAT once the next input action occurs, effectively meaning that the event list in TestDrive-UAT is always one action behind. If at any time you wish to stop actions being recorded by TestDrive-UAT, perhaps while you check something else in the application that is not part of the test, click on the Pause icon in the toolbar.
The following window is displayed which then allows monitoring to continue at your convenience:

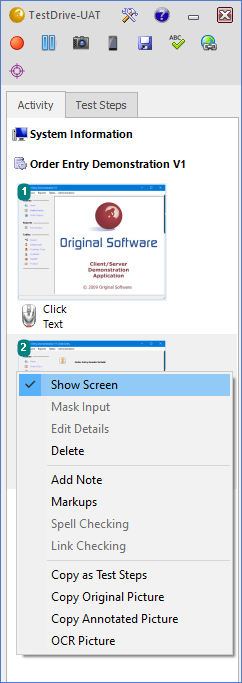
Every reasonable attempt is made to determine, for every application type, when a new screen has appeared and therefore when a new screen picture should be added to the audit trail. However, if an input generates a new screen, or even if it causes important additional information to be displayed on an existing screen, and an automatic picture is not taken, that is very easy to rectify. Simply right click the next input on that screen and select the ‘Show Screen’ option to display the associated screen image. Similarly, if too many screen pictures are automatically displayed, right click the screen picture and de-select the ‘Show Screen’ option. Multiple events can be selected at one time.
A picture can also be forced at any time during the recording by clicking on the “Camera” icon in the toolbar, useful when a screen change that needs to be captured is not driven by an input action. This takes a standalone picture without an associated input.
If your test contains any sensitive input such as keying into a password field, this can be masked using the right click ‘Mask Input’ option. Please note that this action is irreversible and an input cannot later be ‘unmasked’.
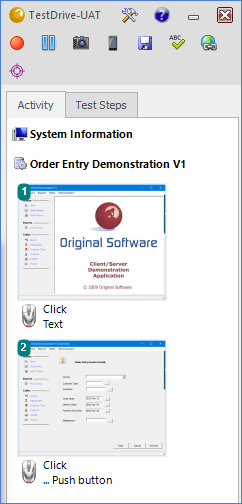
Hover over any screen in the list to view an enlarged image of the screen.
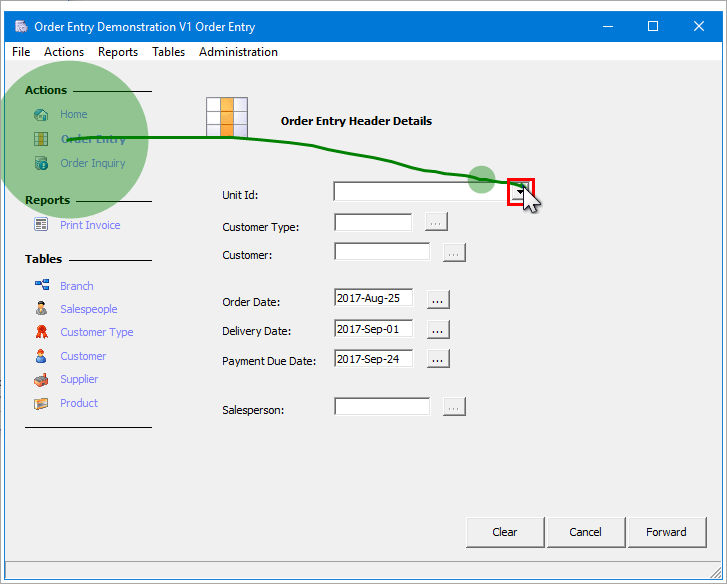
- Red Box: This represents the position of the input action associated with the screen, in the above example this is the position of the left click.
- Green markings: Show the mouse path prior to the input event.
- Purple markings: Show the mouse path after the input event.
Whether or not mouse path annotations are displayed on the screen picture can be controlled using the Preferences which are accessed from the ‘Tools’ icon on the toolbar.
Hover over the System Information node at the very top of the audit trail or any of the Application headers to view information about these.