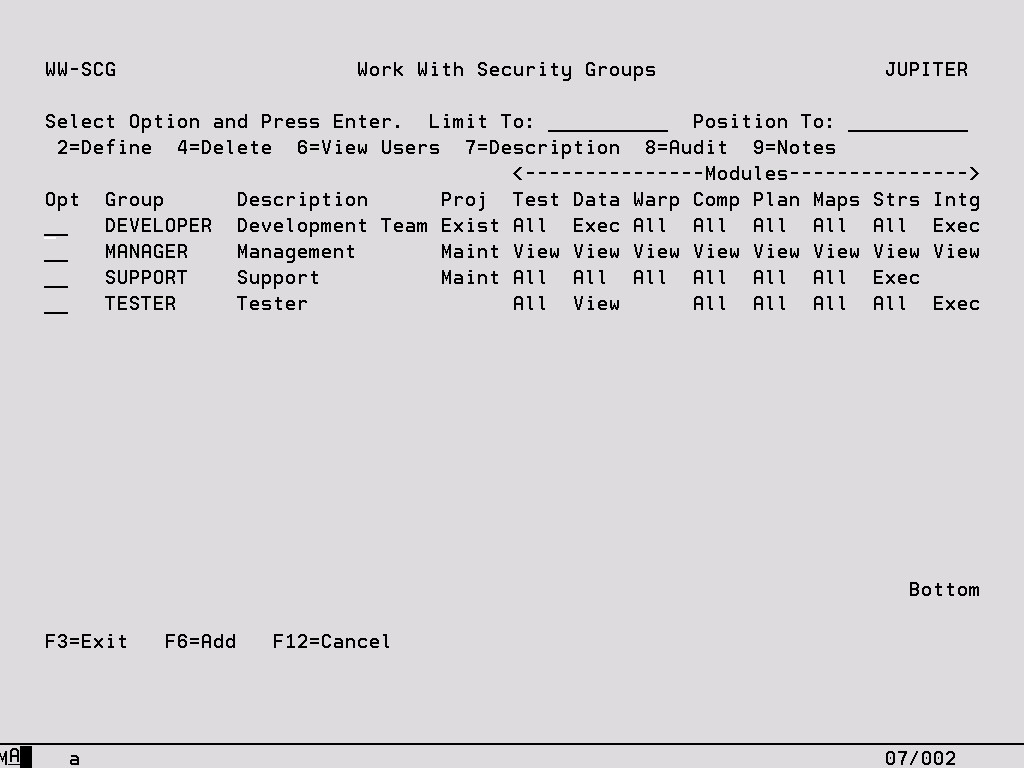
This function is accessed using option ‘2’ from the Work with Security menu. A Security Group enables authorities to be defined for a group of Users who would normally perform the same functions and therefore require similar levels of access to the product. The following screen shows all of the Groups that have already been defined by the Security Controller.
Limit To Key a character or characters to subset the display to records that have the same initial key values. Leave blank to have all records available via scrolling (or page up/down). When entering a ‘Limit To’ value, this will always be used for the ‘Position To’ value in the first instance. Once the ‘Limit To’ range has been established on the screen a ‘Position To’ may also be specified. The last value keyed is stored for each user and will automatically be defaulted into this field when the same panel is next accessed.
Position To This is a volatile field which will position records on the display starting with the characters keyed. Hence, this enables you to move quickly to the end of a long list and from there scroll up or down as required. If entered at the same time as the ‘Limit To’ field, ‘Position To’ will be ignored the next time the enter key is pressed. Once the ‘Limit To’ has been established, ‘Position to can also be keyed. If the ‘Position To’ is outside the range of available records, the display will either start or end with the closest records.
Options:
2 – Define Maintain authorities for this Group (see following screen for more information).
4 – Delete Remove the Group. If this Group is in use (has been defined on the Maintain Authorities screen for at least one User) an error message is displayed and the Group cannot be deleted. Option ‘6’ can be used to determine which Users are referencing this Group and these references must be removed before the Group can be deleted. A confirmation screen is displayed before the deletion process begins.
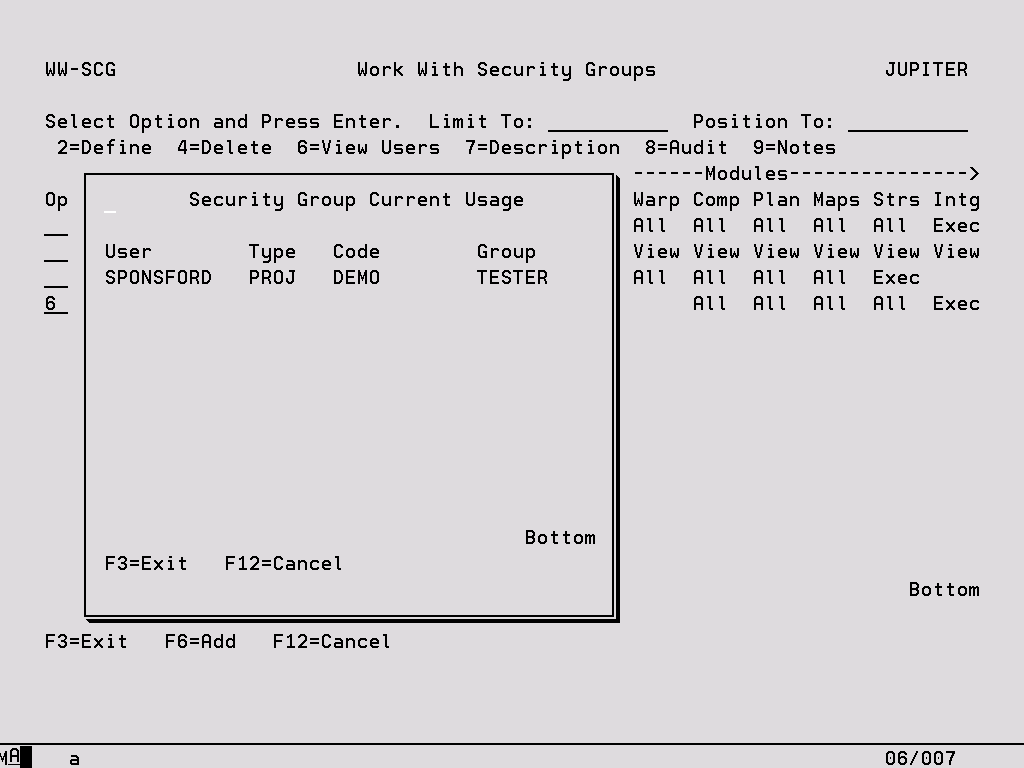
6 – View Users Display a list of Users that are currently referencing this Group at least once on the Maintain User Authorities screen.
7 – Description Change the description of the Security Group.
8 – Audit Every addition, update and deletion to a Security Group is tracked and can be viewed here.
9 – Notes This option allows you to record notes for the Security Group as a means of documentation.
Function Keys:
F6 – Add Create a new Security Group (see following screens for more information).
The following screen is displayed when F6 is pressed on the Work with Security Groups display to add a new Group or when option ‘7’ is keyed to change the description of an existing Group.
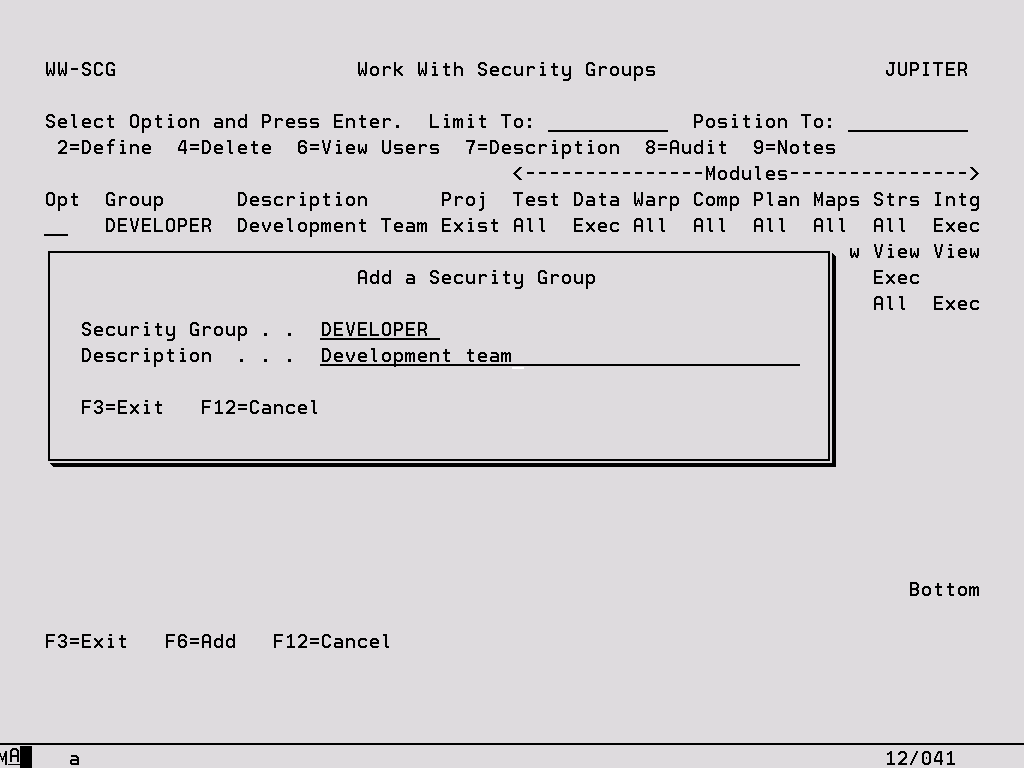
Security Group A user defined name for the group of users for which authority levels are being defined. This field can only be keyed when this screen has been reached using F6 to add a new Group.
Description Text to describe the group of users for which authority levels are being defined.
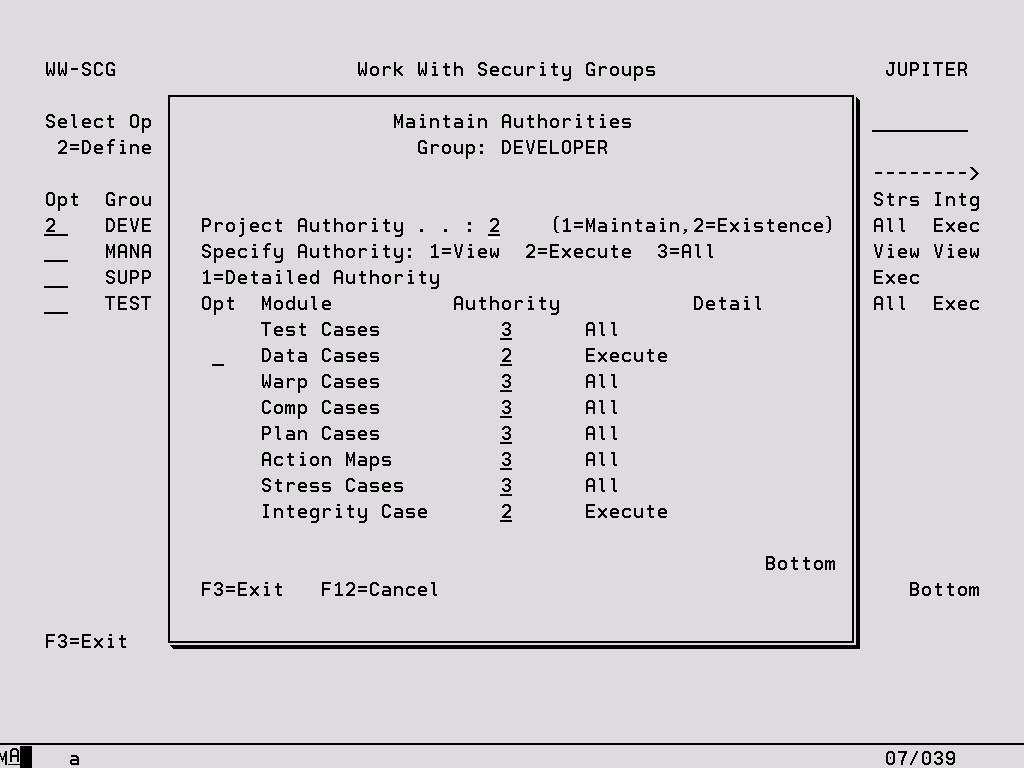
To define the authority levels for the Security Group, key an option ‘2’ next to the Group on the Work with Security Groups display. The following screen is shown which is very similar to that displayed when the same option is taken on the Maintain User Authorities screen. Please refer to this section for further information about this display.
Use option ‘6’ on the Work with Security Groups screen to display a list of Users who currently reference the selected Security Group at least once. Any references to the Group must be removed from the Maintain User Authorities screen before the Security Group can be deleted.