Test Case Environments are accessed by taking option 23 from the TestBench Main Menu or by keying F19 from the Work with Test Cases display.
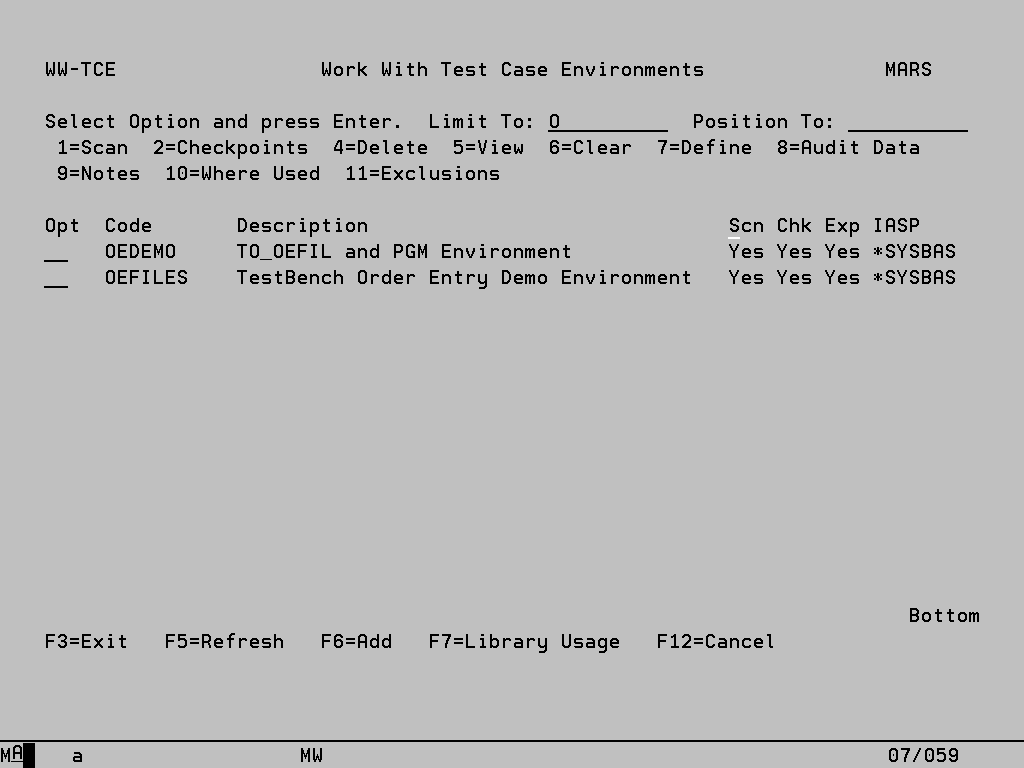
Environments are listed in alphabetical sequence within Independent Auxiliary Storage Pool (IASP) . It is possible to have duplicate Environment names as long as they reside on separate IASPs.
The three columns Scn, Chk and Exp indicate whether an Environment has been scanned, if any Checkpoints exist for the Environment and if the Expand option has been set for the Environment (see below).
Options:
1 – Scan Check the libraries in the Environment for files and data areas which are not currently journaled, and journal them to a TestBench journal which by default resides in the TestBench library TB_JRN. This library can however be overridden on the Environment description. This option is not allowed if the Environment has been frozen (see below). When a Test Case is run, any files and data areas in the Environment which are not already will be journaled, provided the Environment is not frozen. Any files which have been excluded using option ‘11’ will also not be journaled.
2 – Checkpoints Display all existing Checkpoints for the Environment.
4 – Delete Remove the Environment. When this action is taken, all objects in the Environment libraries which are journaled to the TestBench journal will have journaling ended and the journal will then be deleted. If any of the objects are in use then journaling cannot be ended and a message will be displayed. This action can be repeated once the objects can be exclusively allocated.
5 – View Display all of the information associated with the Test Environment. See later section for more information.
6 – Clear End all journaling to the TestBench journal in the Environment and then delete and re-create the journal receiver and journal. The user can then optionally re-scan the Environment (the action normally performed by option 1 above). This option can therefore be used when the journal receiver has become too large and must be cleared down. Please note that he Environment should first be rolled back to a suitable point as this will no longer be possible once this option has been taken. Once the Environment has been re-scanned the initial checkpoint should also be re-set.
7 – Define This screen is also displayed when adding a new Test Environment using F6, and is described in more detail below.
8 – Audit Data Every addition, update and deletion to the Test Environment is tracked and can be viewed with this option.
9 – Notes Access the TestBench Notes Editor.
10 – Where Used List all Test Cases which use this Test Environment. These links must be removed before the Environment can be deleted.
11 – Exclusions Specify any files which should be excluded from journaling and therefore from the rollback process.
Function Keys:
F6 – Add Create a new Test Environment (see below).
F7 – Library Usage Scan all Test Environments for a specific library name.