Click on a screen to populate the area to the right with details about the properties of the screen.
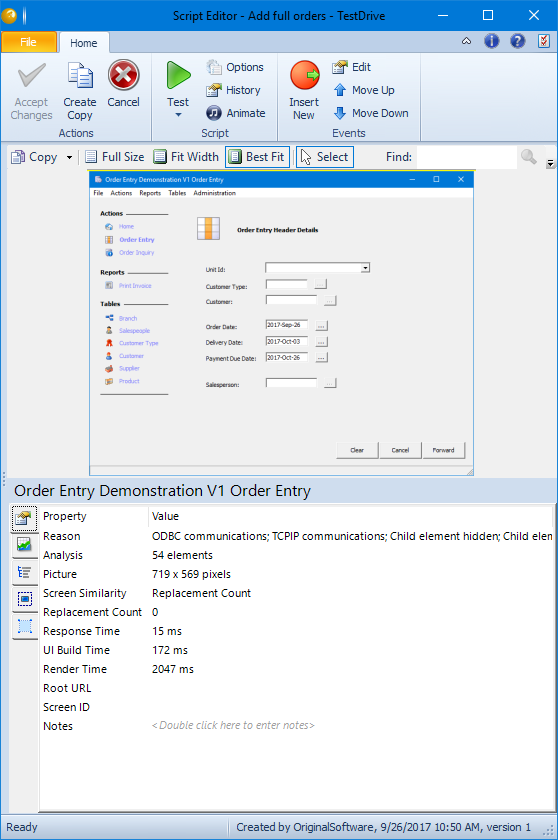
An image of the recorded screen is displayed. There are 3 buttons at the top left of the panel that determine how the picture is displayed.
- Full Size – Displays the picture at full size
- Fit Width – Displays the picture at the width of the panel
- Best Fit – Resizes the picture so that the whole screen is visible within the panel
To add a copy of the screen to the clipboard from where it can be pasted into another application, click the Copy button. Selecting the ‘Copy with selection’ option from the drop down means that any orange rectangles on the screen picture as a result of clicking a specific item will be included in the picture.
The buttons to the right control which mode the screen view operates in.
- Select – Default view whereby clicking on an element in the screen image will display relevant information about that element in other panels.
- Markup – Markup mode which enables sections of the screen to be annotated and optionally flagged as being in error. See the later section for more information.
The screen properties section beneath the screen picture contains useful information about the screen above but the properties listed here could vary according to the application under test. Some of the key properties are explained below.
- Reason – The reason that TestDrive decided to take a picture of the screen, this information could be useful if TestDrive is taking too many pictures and the Options need to be changed.
- Analysis – The number of elements on the screen.
- Picture – The size of the screen picture in the units most applicable to the application. For example for GUI applications this is pixels but for 5250 applications this is characters.
- Replacement Count – In most cases the replacement count for each screen will be zero. However if the screen automatically updates without any input having been received, for example a splash screen temporarily appears but is then replaced by an initial menu, the replacement count will have a value to indicate that the original (splash screen) picture was replaced by the updated (menu) picture.
- Response Time – Time before the user interface starts to change.
- UI Build Time – Elapsed time for all user interface changes, in other words the time taken for the screen to be built.
- Render Time – Time after the last user interface change and before activity ceasing and becoming quiet.
- Notes – Key in any comments that you wish to store with this screen, these will also appear on the results report. Right click and select the Mark As option to change this from an Information level note to something more serious.
Two additional right click options exist which may be used by your support contact if you are not getting the pictures that you expect. Some more advanced screen properties can be listed and all properties can be copied to the clipboard so that they can then be included in an email.
Click on the icons to the left of the properties area to display the following screens.